Models and moments

All Galleries

3D model, third review
June 25, 2002
Comments:
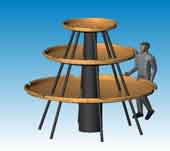
side_render.jpg 63k |
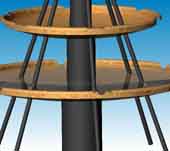
bottomwet.jpg 77k |
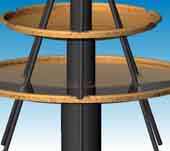
bottomwet_uvp.jpg 75k |
3D model, second review
June 20, 2002
Comments:
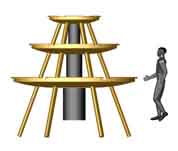
assem1.jpg 38k |
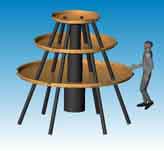
rendered_side.jpg 62k |
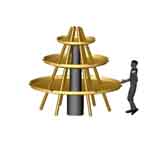
triview.jpg 28k |
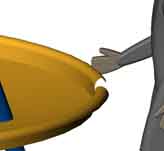
lip_detail.jpg 22k |
3D model, first review
June 14, 2002
Comments:
>The middle supports look too thick.
>Also, they should be a bit taller,
>like try 34" for the middle and 30" for the top support.
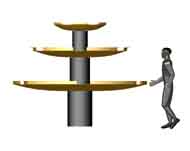
basic_egeria_Right.jpg 34k |

basic_egeria_birdseye.jpg 39k |
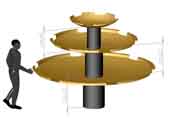
egeria_with_heights.jpg 39k |
Pouneh and Kiki use the plasma cutter!
June 19, 2002
Oh boy was this fun!
Pouneh came over to play with the plasma cutter
and cut out a ''Fire Island'' sign for part of their garden.
I cut off the 1' from the middle bowl piece, so it coule be welded
to the side and make a 7'x7' piece to cut the bowl from.
We had a blast cutting metal!
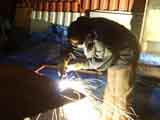
Pouneh_cutting1.jpg 64k |
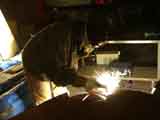
Pouneh_cutting2.jpg 53k |
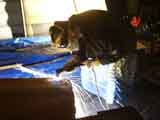
Kiki_cutting10.jpg 63k |
first_flower_cut.jpg 69k |
Pouneh_cuts_screen.jpg 47k |
Pouneh_cuts_screen2.jpg 59k |
Miz_Poon_before.jpg 58k |
Miz_Poon1.jpg 52k |
Miz_Poon2.jpg 54k |
Miz_Poon_contemplates.jpg 51k |
F_before.jpg 60k |
F_after.jpg 76k |
Pouneh_cuts_F_1.jpg 46k |
Pouneh_cuts_F_2.jpg 55k |
Pouneh_cuts_F_closeup.jpg 49k |
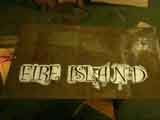
Fire_Island_before.jpg 75k |
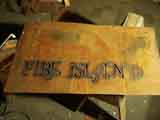
Fire_Island_after.jpg 68k |
Fire_Island1.jpg 47k |
Fire_Island2.jpg 62k |
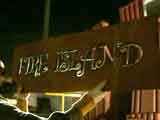
Fire_Island_light.jpg 78k |
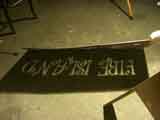
Fire_Island_shadow.jpg 64k |
Kiki_cuts_middle_bowl_strip2.jpg 56k |
Kiki_cuts_middle_bowl_strip3.jpg 49k |
Kiki_cuts_middle_bowl_strip1.jpg 45k |
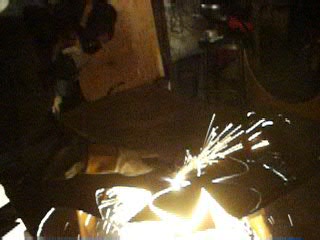
Pouneh_cuts_flower1.avi 770k |
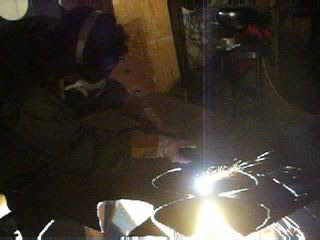
Pouneh_cuts_flower2.avi 941k |
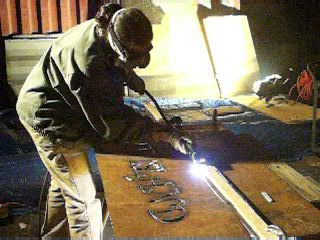
Pouneh_cuts_sign.avi 3.5m |
Copper delivery!!!!
May 30, 2002
Here's the copper, fresh off the truck!

copper.jpg 64k |

copper_like_water.jpg 43k |
Kiki_copper.jpg 57k |
Kiki_copper1.jpg 61k |
Kiki_copper2.jpg 86k |
Copper bowl tests
May 27, 2002
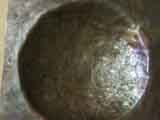
I annealed a piece of copper and pounded a bowl shape out of it.
I wanted to see how difficult it was to create a consistant shape.
It wasn't hard at all!
This bowl took me about an hour total.
At first, I pounded on a flat piece of steel,
but soon realized that pounding in open air was best.
I did this by propping the copper against two hard places
and pounding in the middle.
This rounded it pretty easily, even though the copper was so thick.
I annealed the copper twice.
It work hardened pretty quickly, but wasn't difficult to work even when hardened.
In all, a great test!

top.jpg 47k |

bottom.jpg 48k |

side.jpg 47k |
top_above.jpg 59k |
top_edge.jpg 52k |
top_edge_hammering.jpg 45k |
top_edge_flat.jpg 43k |
bottom_above.jpg 64k |
bottom_hammering.jpg 63k |
bottom_edge.jpg 64k |
Free plywood!
May 8, 2002
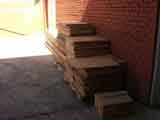
Greg Tse keyed me in on some free plywood and helped me load it!
Then, on the way home, going up a hill, it dumped out the back...
[The picture shows where I've turned around to reload it...]
free_plywood.jpg 59k |

reloading_fallen_wood.jpg 86k |
TIGing copper test -- successful!
April 3, 2002
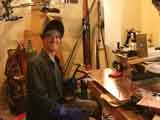
My friend Greg Solberg invited me over to try his TIG
on some copper samples I got.
In all, a very sucessful day!
You can read about it here.
Greg_ready_to_TIG.jpg 71k |
lens_flare.jpg 49k |
030_TIGing_closeup.jpg 52k |
030_TIGing_real_closeup.jpg 24k |

064_1st_tack_warped.jpg 74k |

064_1st_tack_pounded_flat.jpg 78k |
064_1st_tack_warp_side.jpg 63k |
064_2nd_tack.jpg 47k |
064_Kiki_spatter.jpg 82k |
064_rod_filled.jpg 41k |

050_holes.jpg 42k |
030_easy_weld.jpg 52k |
030_blood_red.jpg 45k |
030_blood_red2.jpg 41k |
050_colors.jpg 55k |
064_belly_scars.jpg 50k |
064_crystals_blood_red.jpg 44k |
064_crystals_detail.jpg 51k |
Size comparisons among different bowl sizes
April 5, 2002
I've been unsure about the 3' top tier's size.
It seems too small.
I can't figure out how to make a pedistal for it without it looking silly.
So here's some size tests to compare.
You can look at the file name to see what the sizes are.
I'm leaning towards 10-7-4 as the sizes.
Ug.
Someone stop this project from getting bigger!!! :)
10-6-3_lower.jpg 66k |
10-7-4_lower.jpg 68k |
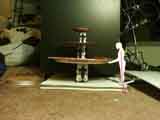
10-6-3_w_pedestals.jpg 69k |
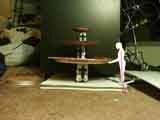
10-7-3_w_pedestals.jpg 69k |
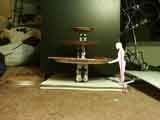
10-7-3f6i_w_pedestals.jpg 70k |
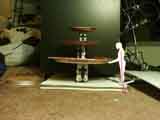
10-7-4_w_pedestals.jpg 70k |
Layout the basin with a hose
March 31, 2002
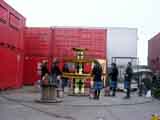
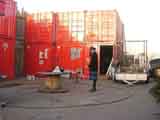
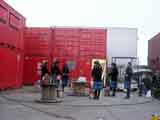
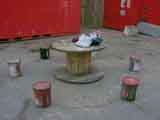
I laid out the basin area and the bottom tier with a hose and extension cord.
I wanted to get a good sense of what this all looked like in reality.
It's amazing how dinky things will get on the playa.
[No, of course I didn't lay it out on the playa itself! :)
But I could imagine it out there...and how it would shrink out there...]
I was disappointed: 25' looks about right,
whereas, 20' looks small and cramped.
I hemmed and hawed about 9' vs. 10' and Jim laughed at me. :)
He's right: there's not much difference.
However, there *is* a difference in ratio,
and I like the rapidly decreasing size over the shallower,
so I'll also probably stay with the large bottom tier too...
Dangit!
So much would be simpler if it could be smaller!
Arg! :)
all_around_model.jpg 73k |
20ft_9ft.jpg 69k |
all_around.jpg 72k |
fountain_only.jpg 66k |
fountain_only2.jpg 67k |
Kiki_plays.jpg 70k |
Model with basin area and stones
March 28, 2002
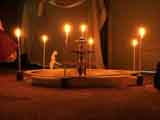
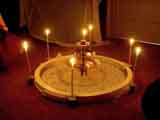
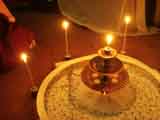
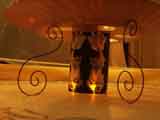
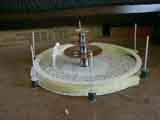
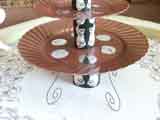
I did a mockup of the basin area with printed stones.
I still want to clean this up, but this gives the best sense of scale
of all the pictures of models.
Once finished, this will be the model I take around to show off!
all_side.jpg 51k |
all_above.jpg 44k |
above_lit.jpg 55k |
pedistal_flames.jpg 51k |

windows.jpg 60k |
all_day_above.jpg 68k |
windows_day.jpg 60k |
spirals_day.jpg 54k |
Shaping form and window test
March 17, 2002
We found this form at Urban Ore.
Hopefully, we can use it to pound on to shape the bowls!
I also did a test of the windows.
The light doesn't show up well here,
but it looked great!
I realized that with light on the fish coming from above and below
that the fish will shimmer and appear to twist and wriggle!

form.jpg 34k |
form_side.jpg 18k |
fish_windows.jpg 19k |
Painted model with fish base
March 16, 2002
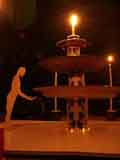
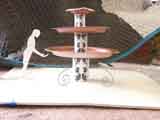
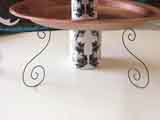
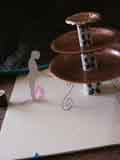
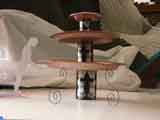
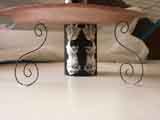
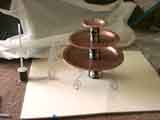
I painted the paper plates,
printed out fishbase supports,
and added some S-shaped spirals.
I did the fish with a white background at first,
but since I plan to paint the bases behind black,
I re-did them in black.
They look real slick in black!
white_lit_all.jpg 51k |
white_lit_close.jpg 41k |
white_all.jpg 72k |
white_fishbase.jpg 44k |
white_from_above.jpg 44k |
black_all.jpg 54k |
black_fishbase.jpg 45k |
black_from_above.jpg 61k |
Quick, thrown together model
March 13, 2002
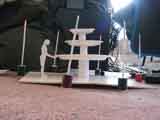
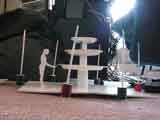
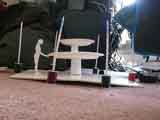
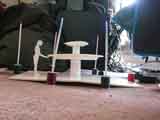
I threw together this model for my meeting with Larry Harvey.
It's amazing what one can accomplish under pressure.
:)
03130021.jpg 56k |
03130002.jpg 69k |
03130003.jpg 65k |
03130007.jpg 73k |
03130008.jpg 73k |
03130005.jpg 44k |
03130006.jpg 47k |
03130010.jpg 41k |
03130011.jpg 35k |
03130012.jpg 35k |
03130015.jpg 46k |

03130020.jpg 23k |
03130016.jpg 30k |
03130017.jpg 28k |
Work party: Fiberglass!
November 18, 2000
We had a work party and did some fiberglass. We also looked at some projects
by Dave Ellsworth, and some great books from Steve Dartt.

rgb_yellow.jpg 133k |

rgb_magenta.jpg 133k |

rgb_orange.jpg 132k |

rgb_darkred.jpg 133k |

Kiki_panel.jpg 117k |

Kiki_test_bowl.jpg 123k |