Experiments and construction

All Galleries

Middle and top bowl together
July 15, 2002
These are the two pounded parts of the bowls together.
It's so lovely to me it makes my heart skip a beat!

together.jpg 58k |

two_bowls.jpg 58k |
Work day with John D.
July 13, 2002
John came over for a work day saturday.
We played with the top bowl on the life sized model,
and cut the walls for the middle and bottom bowls.

can_you_feel_it.jpg 67k |

top_bowl_side.jpg 62k |

life_size_model.jpg 52k |

Atlas.jpg 57k |

support_test.jpg 47k |

copper_reflection.jpg 55k |

green_beam.jpg 62k |

shooting_star.jpg 66k |
Top bowl wall is now half done!
June 25, 2002
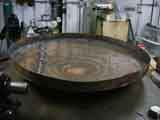
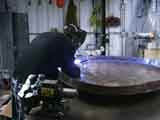
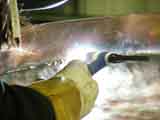
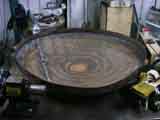
I welded in the rest of the top bowl wall.
Now all that's left is welding the lip and pounding it!
torch.jpg 35k |
no_back_weld_yet.jpg 65k |
Kiki_back_welding.jpg 65k |
back_welding.jpg 53k |
lower_weld_done.jpg 66k |
Welding the top bowl wall to the bottom
June 21, 2002
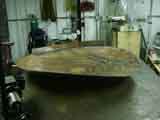
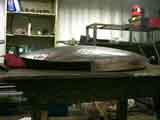
Here's the final welding of the wall to the bottom of the top bowl.
I burned a couple holes -- esp. near the old cracked welds.
But these filled in okay.
I had a little trouble with one big hole, nad filled it
with a piece of copper -- but the piece melted into a blob
before it could weld as a whole, but the blob eventually filled it in.
The walls came to something *less* than four 3' pieces --
meaning less than 12', meaning less than 4' times pi...
But the inner circle part [the top of the top hat]
is slightly smaller, and when I realized that a 2.5" lip
meant subtracting 5" from 4' -- which is over 15" from the 12' --
this made a lot more sense.
Now all that's left is welding on the lip...
one_piece_done.jpg 66k |
flipped_over.jpg 70k |
pretty_welds.jpg 62k |

pretty_welds_closeup.jpg 54k |
cracking.jpg 72k |
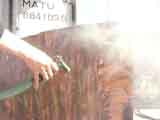
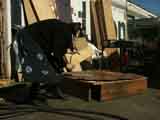
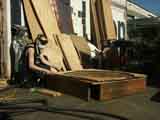
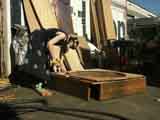
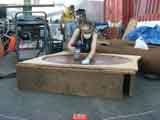
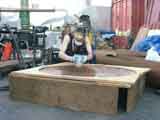
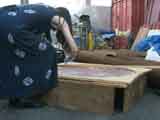
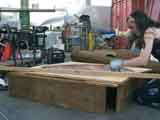
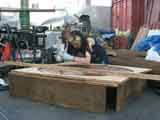
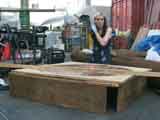
pounding the top bowl
June 18, 2002
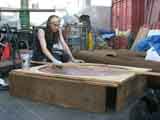
This was an intensely spiritual thing!
I'm not typically into that kind of thing,
but while pounding I could *feel* my ancestral women pouding grain...
I couldn't get away from it!
It was like the intense feeling of drumming.
Totally captivating!
You can see it on my face...
|
top-pounding.swf 9.1m |
018_circles.jpg 74k |
028_reflection.jpg 75k |
052_cool_colors.jpg 65k |
054_spray_w_water.jpg 43k |
064_lay_it_flat.jpg 77k |

066_draw_circle.jpg 79k |
071_use_plywood.jpg 86k |
076_use_plywood.jpg 86k |
094_measure_depth.jpg 65k |
095_chain_goes_to_depth.jpg 62k |
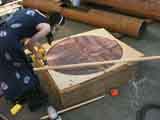
157_attach_chain_to_stick.jpg 68k |
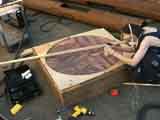
160_use_stick_to_check_progress.jpg 72k |
166_pound.jpg 40k |
176_pound.jpg 43k |
190_pound.jpg 75k |
201_pound.jpg 73k |
206_check_shape.jpg 59k |
210_pound.jpg 69k |
215_pound.jpg 69k |
216_hair_flip.jpg 71k |
224_check_shape.jpg 72k |
248_anneal_pattern.jpg 67k |
243_weld_cracks.jpg 31k |
253_birth.jpg 51k |
257_birth.jpg 59k |
259_birth.jpg 68k |
283_discussing_cut.jpg 60k |
289_cut_edge.jpg 56k |
292_cut_edge.jpg 60k |
294_cut_edge.jpg 53k |
299_cut_lip.jpg 58k |

302_cut_lip.jpg 43k |
304_cleanup.jpg 56k |
Annealing the top bowl
June 17, 2002
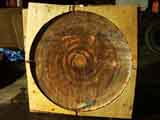
Here's some quick pics of the first part of annealing the top bowl copper.

annealing.jpg 75k |

colors.jpg 68k |
copper_oxide.jpg 49k |
Top bowl pounding platform
June 16, 2002
This platform is what we'll be pounding against.
It will help shape the bottom rounded part of the top bowl.
copper_fit.jpg 53k |
platform_cut.jpg 62k |
Piecing the top bowl copper together
June 2, 2002
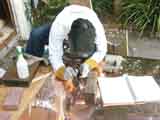
Took a sheet of copper to Greg's house to make a 4'x4'
sheet for the top bowl.
The welds are terrible, but, hey! it was my first real try welding copper!
When I went back later to clean up the welds,
I had a lot of trouble with cracking.
I realized that the more I welded over the area,
the more the crystals lined up,
and the cracks were along crystal lines.
So I solved it by adding more copper [confusing the crystals]
and annealing, which only involved spraying the copper with water.
These two things seemed to solve the problem!
All in all, I was quite happy and learned a lot!
Greg_welding.jpg 89k |
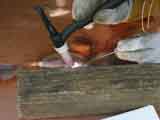
close_up_TIG.jpg 69k |